
Tools Required
-

Drill
Drill with the proper drill bit.
Masonry for concrete, wood bit for drywall.
-

Screw Driver
SQ1 square-head screwdriver or drill bit.


Careful Considerations
-

Atypical Shaft Section
Some companies utilize a 5-sided shaft to help transmit the most power through the stick. This non-standard shape and size is not recommended for Stick Em Up placement as it may lead to permanent flexion of the arm and lead to damaged Stick Em Ups.
-

Grip Tape Location
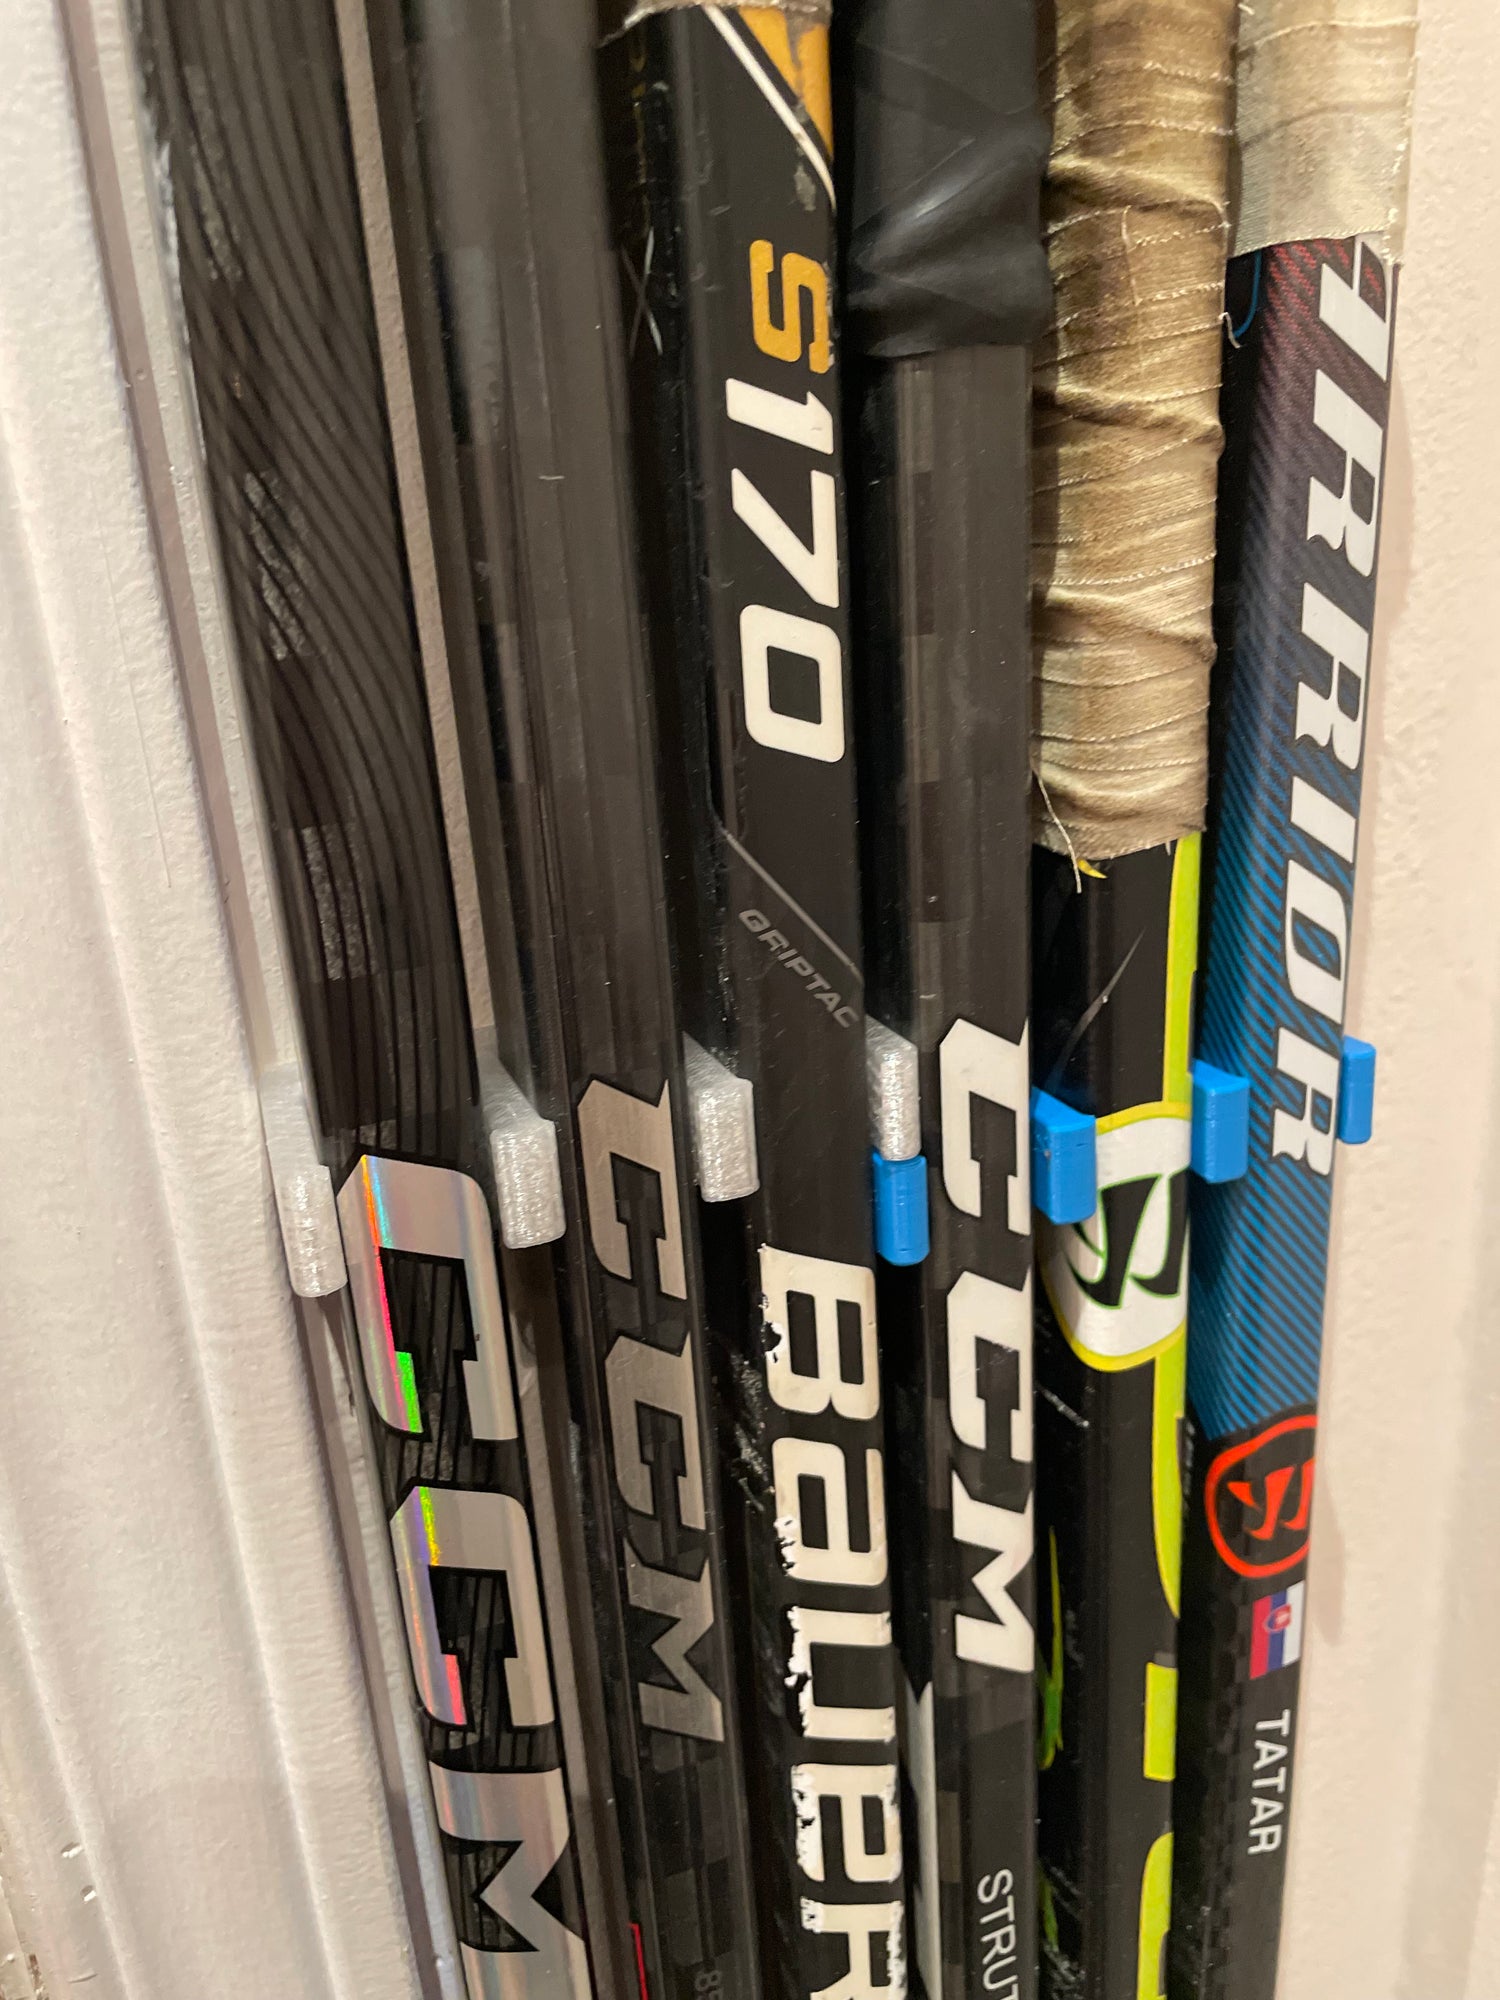
Grip tape should sit just above the Stick Em Up arms — it helps keep sticks off the ground.
If the tape goes inside the holder, it can make pulling sticks out harder.
-

Gigantic Knobs
Given the compact design of Stick Em Ups, if you’ve got heavy tape jobs (goalies or Mark Stone types), stagger the stick heights or place the bulkier ones on the ends. If you’re wrapping the whole roll, you might be down to two sticks.


Set Em Up
Follow the recommended installation guide to ensure functionality and durability as intended.
The following instructions are applicable for vertical and horizontal showcasing of hockey sticks. Vertical is typically for easy grab & go whereas horizontal showcases sentimental, retired sticks.
- Optimal Stick Em Up Locations
- Mark Hole Locations
- Wall Plugs
- Assemble
- Install
If you have any questions, reach out. We would love to hear your feedback.
Prep Work
-

Optimal Stick Em Up Locations
Determine 2 locations on your hockey sticks that snap on well without becoming too difficult to remove. Typically below the grip tape for adult sticks and somewhere before the blade where the shaft begins to taper.
See above for tips to determine the optimal Stick Em Up locations on your hockey sticks.
-

Mark Hole Locations
Using the Stick Em Up screw holes, mark the locations of the holes with a pencil.
Only 2 screws are required for each Stick Em Up.
-

Screws & Wall Anchors
If a screw will be installed into a stud, there is no need for the wall anchors.
For drywall or concrete, drill a hole slightly larger than the wall anchor diameter to ensure a snug, secure fit for optimal stability.
Note: Concrete walls will require a durable masonry drill bit.


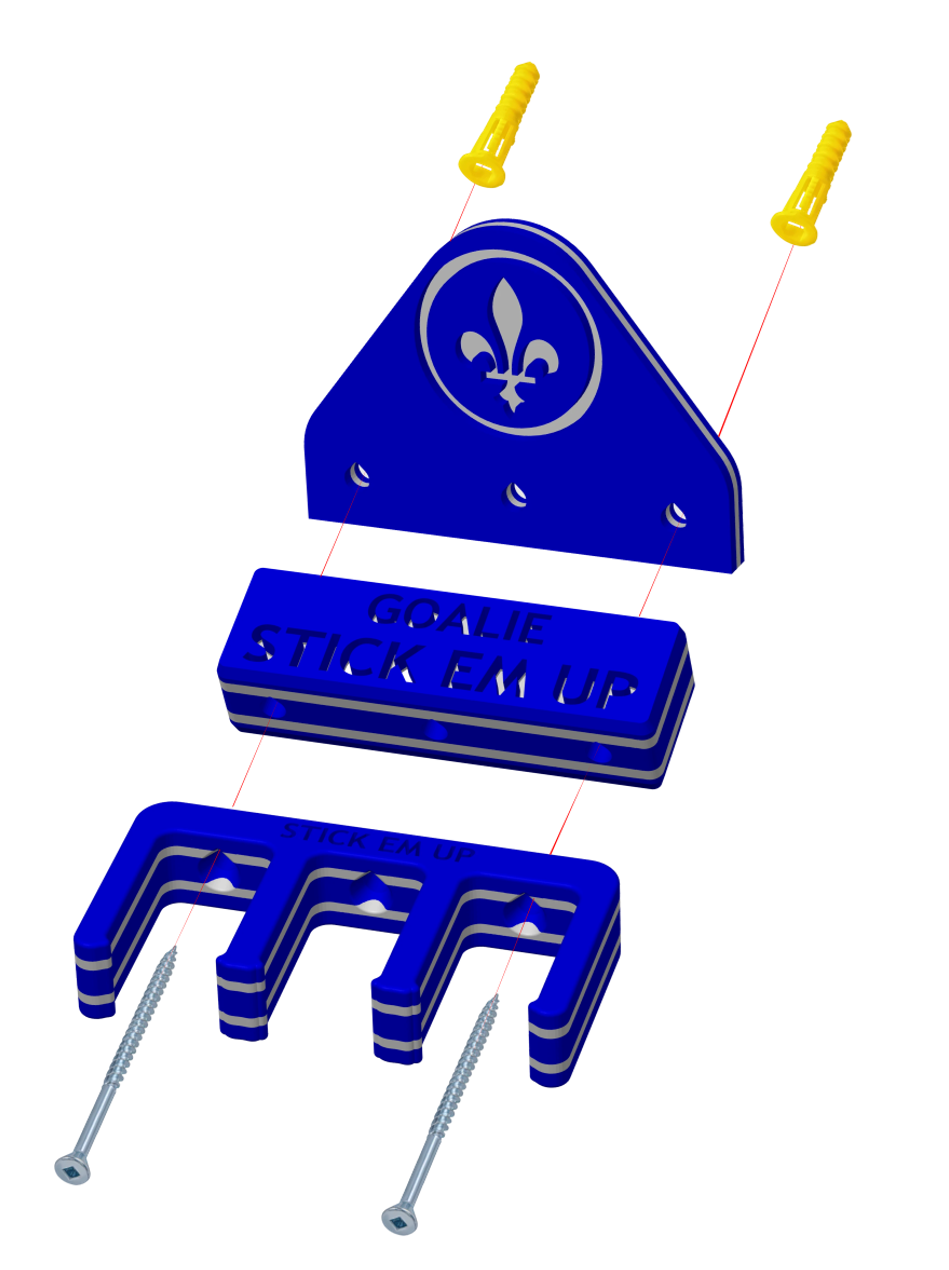
Assemble & Install
- Insert screws through the Stick Em Up and any applicable add-ons.
- Align screws with wall anchors or studs.
- Tighten screws by turning clockwise, ensuring a secure fit. Avoid overtightening to prevent damage.
Note: Each Stick Em Up requires only two screws, but a third hole is included for flexibility. For example, if a stud aligns with the middle hole, you can use one wall anchor for the outer hole and screw directly into the stud for a quicker and simpler installation. This also provides a backup in case one hole becomes damaged.